Aprons!

 Here are two aprons I made last week. One is for my niece's little girl, Yar-Ya (the other one I made her was too small) and the other one went to my DIL to either save for Emily or to gift to someone.
I learned some interesting techniques on these.
This is how to more easily apply bias to a curved edge. The sewing books recommend you shape your bias before attaching. This is to allow the curve to have no tucks or buckles in the final stitching. I used prepared bias on both these aprons--single fold 1" and single fold 1/2". I pressed the curve into both, but found that the narrower bias really could have been sewn on with no curve pr
 essed in. So here is how it's done:
Even though I will be sewing the bottom of the bias strip right on the juncture of the pink and green fabric I put the top of the bias strip along the seam line. I placed lots of pins following the curve of the fabric. Be sure you allow some extra to hang off the edges of your apron (where you'll be hemming the sides). After pinning the bias I then pressed the unpinned edge lightly stretching it. After it has cooled I remove it and get ready to apply it for real this time. See how neat the bias is:

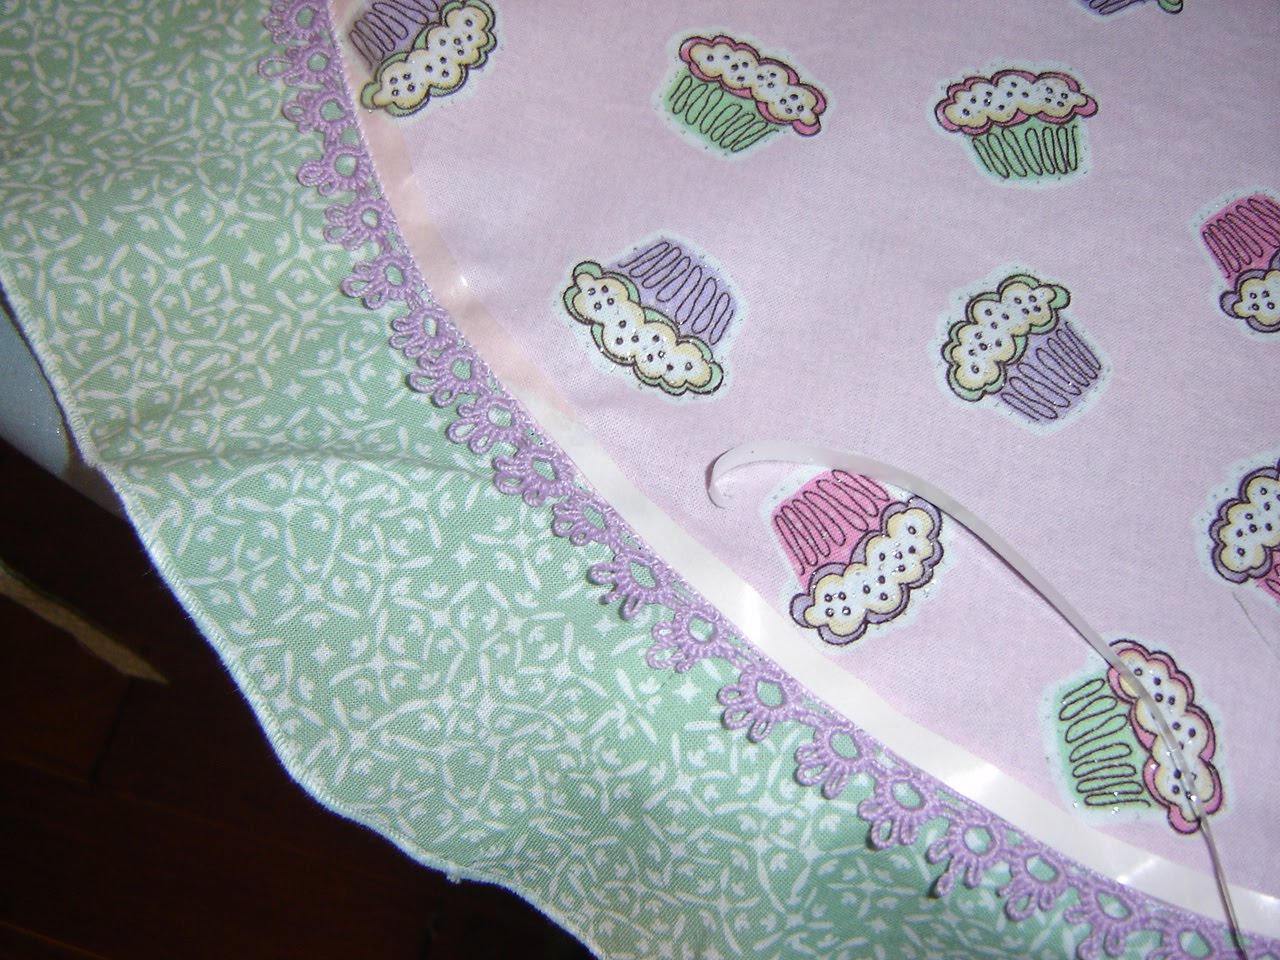
On Yar-Ya's apron I wanted to apply some tatting I had made. Please check out how close I called it. Maybe I should have measured the apron?
 I sewed the tatting on by using a very narrow zig-zag stitch. Now I'm going to apply the bias covering the zig-zag. Applying anything on top of anything is most easily accomplished with Wonder Tape. This awesome stuff is double sided 1/4" tape. And it washes out! And it doesn't gum up your needle. Watch Joann's for it to go on sale 50% off when the wall notions are on sale--and then stock up. Here's a picture of how it works:
 I put it right along the top of the tatting. Then I put my bias tape on that and edge stitched it.
When the apron was "finished" I wanted more embellishment (it's the old lady in me because the tatting just wasn't enough old lady) so I decided to "sprinkle" the cupcake applique and to embroider "Yum" on the bias tape. Here are the close ups:

 I love my niece and I love my DIL so when I sewed on all those beads I tied a knot after each bead before moving on to the next. I didn't cut the thread, but each one is knotted so if the thread breaks only one bead is going to roll.
Here is a close up of the other apron. I hadn't made tatting for it and just wanted to get it done so I figured using a blanket stitch on the bias tape would do. And I wanted to do it on the machine with rayon thread (shine!). Here's an example of why one should always do a practice piece:
 Look how you can see the green between the stitches. Yuck! I had used my edge foot for that row and as you can see it was a much better line up (with that stitch) just going with a regular presser foot. So here's how I fixed it because it was impossible to pick out those stitches:
 And once again the Wonder Tape bailed me out!
And because we all need a little baby peek:

And now a little "something-something" from my calendar called P@rn for Women:
 You gotta read the caption.
You can click on any picture to make it larger.
posted by PamKnits at 4:21 PM
![]()


0 Comments:
Post a Comment
<< Home